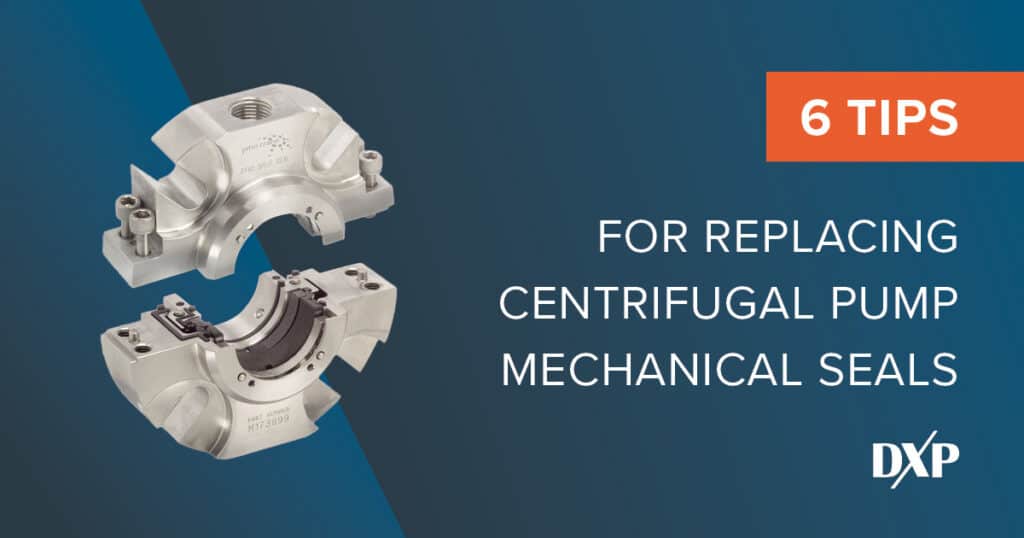
Mechanical seals play a very important role in any centrifugal pump system. They prevent air and fluid from leaking from the critical connection point between the impeller and the casing. Ultimately, this helps maintain proper pressure inside the pump. A healthy mechanical seal is critical to maintaining optimized pump performance and maximizing the equipment’s overall lifespan.
Mechanical seals can become worn out over time, or they could be damaged in some other way. They need to be replaced periodically to ensure proper pump performance. It is important for an operator to understand when mechanical seals need replacing. Then, they must go through the recommended maintenance steps to install the new seal. Here are a few helpful tips for replacing centrifugal pump mechanical seals:
- Follow Recommended Maintenance Procedures
The pump manufacturer or the mechanical seal manufacturer will generally provide user recommendations for seal life. They may recommend replacing them at certain intervals, and you can build this right into your maintenance plan. Otherwise, mechanical seal inspection and testing should be regular parts of your ongoing centrifugal pump maintenance plan. You can identify when a seal is starting to fail and replace it before it starts causing significant problems.
- Look for Warning Signs
In addition to regular seal maintenance and inspections, operators should know the common warning signs for failing mechanical seals. Examples include fluid or air leaks, contaminated process fluid, or loss of pumping pressure. Other symptoms could include temperature changes, excess fluid consumption or loss of energy efficiency.
- Prepare the Pump for Seal Replacement
When it comes time to replace a mechanical seal, you will power down the pump and cut off its power source. The pump should also be completely drained of fluid with the inlet and outlet valves closed before removing the old seal.
- Disassemble the Pump
There will be different processes here depending on the pump design and mechanical seal assembly. Follow the required steps to access and remove the worn mechanical seal properly. Make sure everything is properly cleaned so that the new seal will fit accurately and work optimally.
- Install the Seal and Reassemble the Pump
Again, this process will vary based on the pump and the type of mechanical seal being installed. Take your time here and do everything right. This is not a step you want to repeat, so don’t cut any corners or ignore any details.
- Restarting the Pump and Monitoring
Once the new seal is installed and the pump is reassembled and realigned correctly, you can start testing. Make sure the fluid entering the pump is clean and free of contaminants. Turn on the pump and monitor it carefully. Check for leaks and keep a close eye on all the performance indicators as you slow ramp up the motor to your desired operating speed. Even once it is going at full speed, you will want to keep monitoring the pump system closely. This will give you full confidence that the new mechanical seal and all aspects of the pump equipment are working as desired.
These are some of the most important steps when replacing a mechanical seal on your centrifugal pump. For help with finding the best replacement seals and upgraded components from leading manufacturers like John Crane or Flex-A-Seal, contact DXP Pacific today. We can also help with expert pump maintenance and training plans for a fully optimized pump system.

