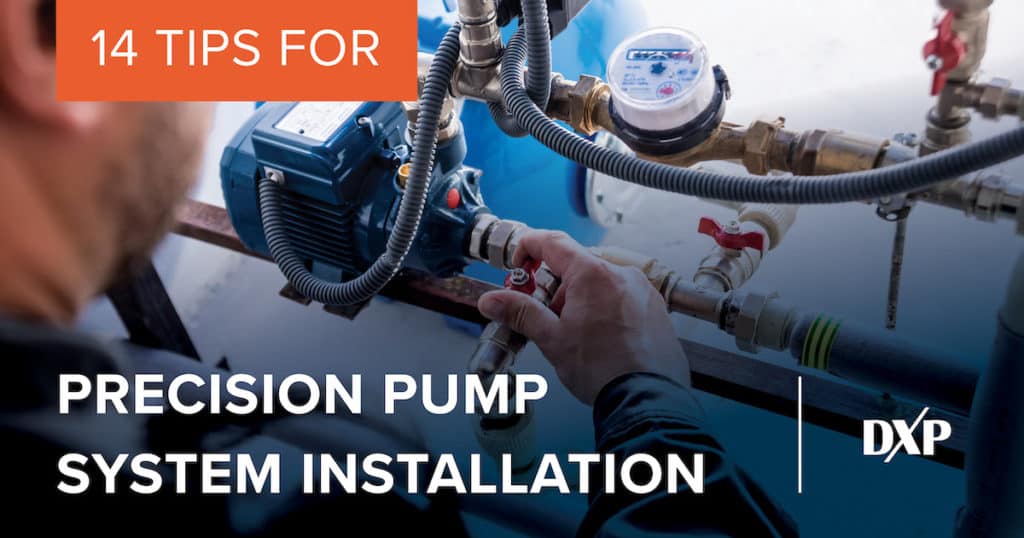
Proper installation is vital if you install a new pump or upgrade your system with new pump equipment. The footing must be solid to avoid vibrating and shifting during operation, causing significant pump damage. Everything must be in perfect alignment for optimized performance. Seals, bearings, drive components, pipe fittings, and other parts need adequate lubrication and testing to prevent operational issues.
Here are 14 steps for a precision pump installation:
- Read the Instruction Manual
Carefully read the equipment’s instruction manual to understand the installation and operating instructions before setting up the pump.
- A Good Foundation
Make sure the foundation for the pump equipment is rigid, level, clean, and ready before installing the base. Secure the baseplate properly to the foundation and test to ensure its solid footing.
- Install the Pump and Driver
Once the baseplate is secured, you can install the pump equipment and driver. All fittings should be tight without any room for movement.
- Check Initial Alignment
Once the pump and driver are installed, check the initial shaft alignment and ensure everything is where it needs to be. You may utilize laser alignment technology or old-school alignment techniques. At DXP, we like to use a combination of both for the best possible results.
- Lubrication
Add the requisite lubrication to the bearing housings, gear reducers, mechanical seals, and other lubricated components. Fill oils to proper levels and grease parts as required.
- Install the Piping and Realign
You can now install and connect the piping system to the pump. Perform a second alignment check after the piping is installed and readjust as needed.
- Rotational Check
While the coupling element is removed, you will complete a rotational check of the driver. It should be rotating freely and consistently.
- Verify Pump Settings
All pump and driver settings should be checked and verified before installing additional components in the pump system.
- Install Ancillary Equipment
Install ancillary components like the coupling or insert, additional accessories, and fittings to complete the pump system installation.
- Pre-Startup Check
Before you start up the pump, go through a careful pre-startup procedure, which involves filling and venting the pump and system and checking the system valve and lineup of all critical components.
- Alignment Recheck
You can never be too careful with alignment. Perform another alignment check here to ensure that the piping, lubricating fluid weights, and additional components haven’t thrown off the pump alignment. Adjust as necessary.
- First Start
You are now ready to start up the pump for the first time. Run it briefly and monitor carefully. Check key performance indicators like pressures, temperature, flow rates, noise, vibrations, and net positive suction head (NPSH). If there are any causes for concern, shut it down and make the necessary adjustments before restarting. It may take several attempts to get the equipment dialed the way you want it.
- Final Alignment and System Inspection
After the pump has been running correctly for a while, shut it off and perform additional alignment checks. Test and retighten all fittings, look for any fluid or lubricant leaks, and perform a “hot alignment” if the fluid is above 200°F. Scrutinize everything to ensure there are no problems before putting the pump system into a full-time operation.
Ongoing Inspections and Maintenance
Though not part of the initial pump installation, you will want to make routine inspections part of your overall maintenance plan. Alignment, fittings, lubrication, footing security, and other items should be checked regularly to ensure optimal performance. If you need help with pump system installation or custom pump system design, contact DXP Pacific today. Let our experts guide you through the process and provide the best equipment installation services.

